
Creating and Managing Lists
1. Creating a List from the Menu:
- Click the "+" button next to the List menu on the left.
- Enter a name and confirm to create a new custom List.
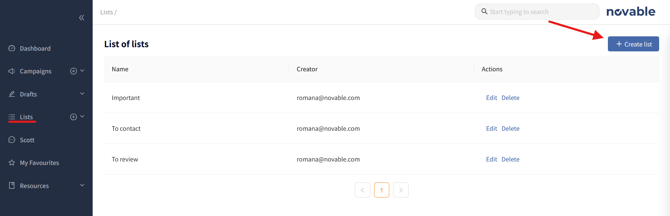
- You will be redirected to the List Management view, where you can see all Lists created within your account.
- You can also create a List by clicking on the Create list button on the right.
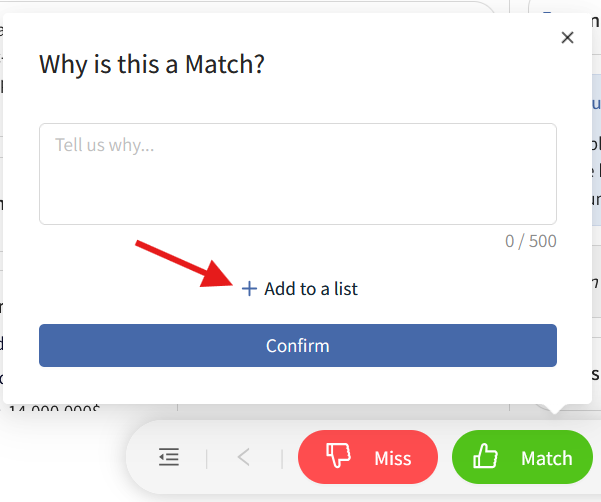
2. Using Lists during tagging:
- Click Match or Miss when reviewing a company.
- Select an existing List or create a new one directly from the tagging interface.
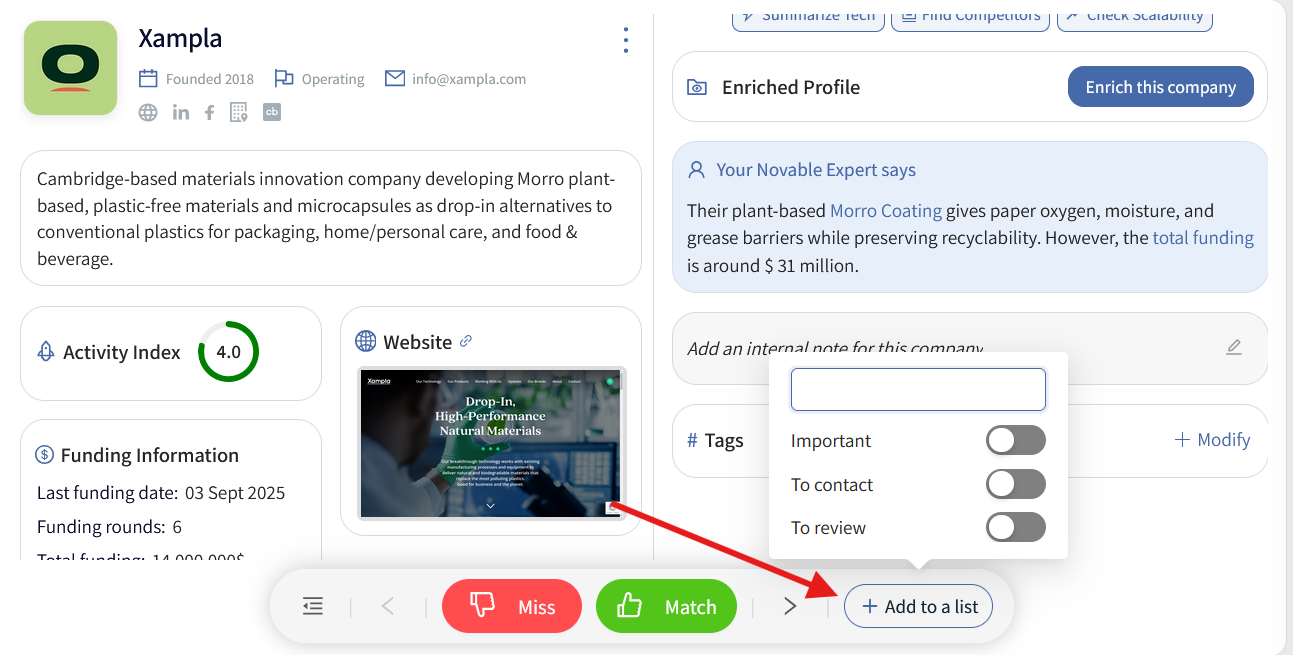
3. Using the Add to List button:
- Click Add to List on a company profile.
- Create a new List by typing its name or add the company to an existing list by toggling the corresponding slider.
4. Exporting a List:
- Go to the Lists tab in the left menu and select one.
- Click on the Export button at the top right.
- You will receive the List by email in a CSV format.

Examples of Lists
You can create lists for different purposes, such as:
-
-
To recontact in [DATE]
-
Colleague [X] to review
-
To reach out to
-
Too early stage
-
Upcoming Campaign
-
Novable to find contact info.
- Etc.
-
Lists help keep track of companies efficiently and ensure you can easily revisit them for future actions.